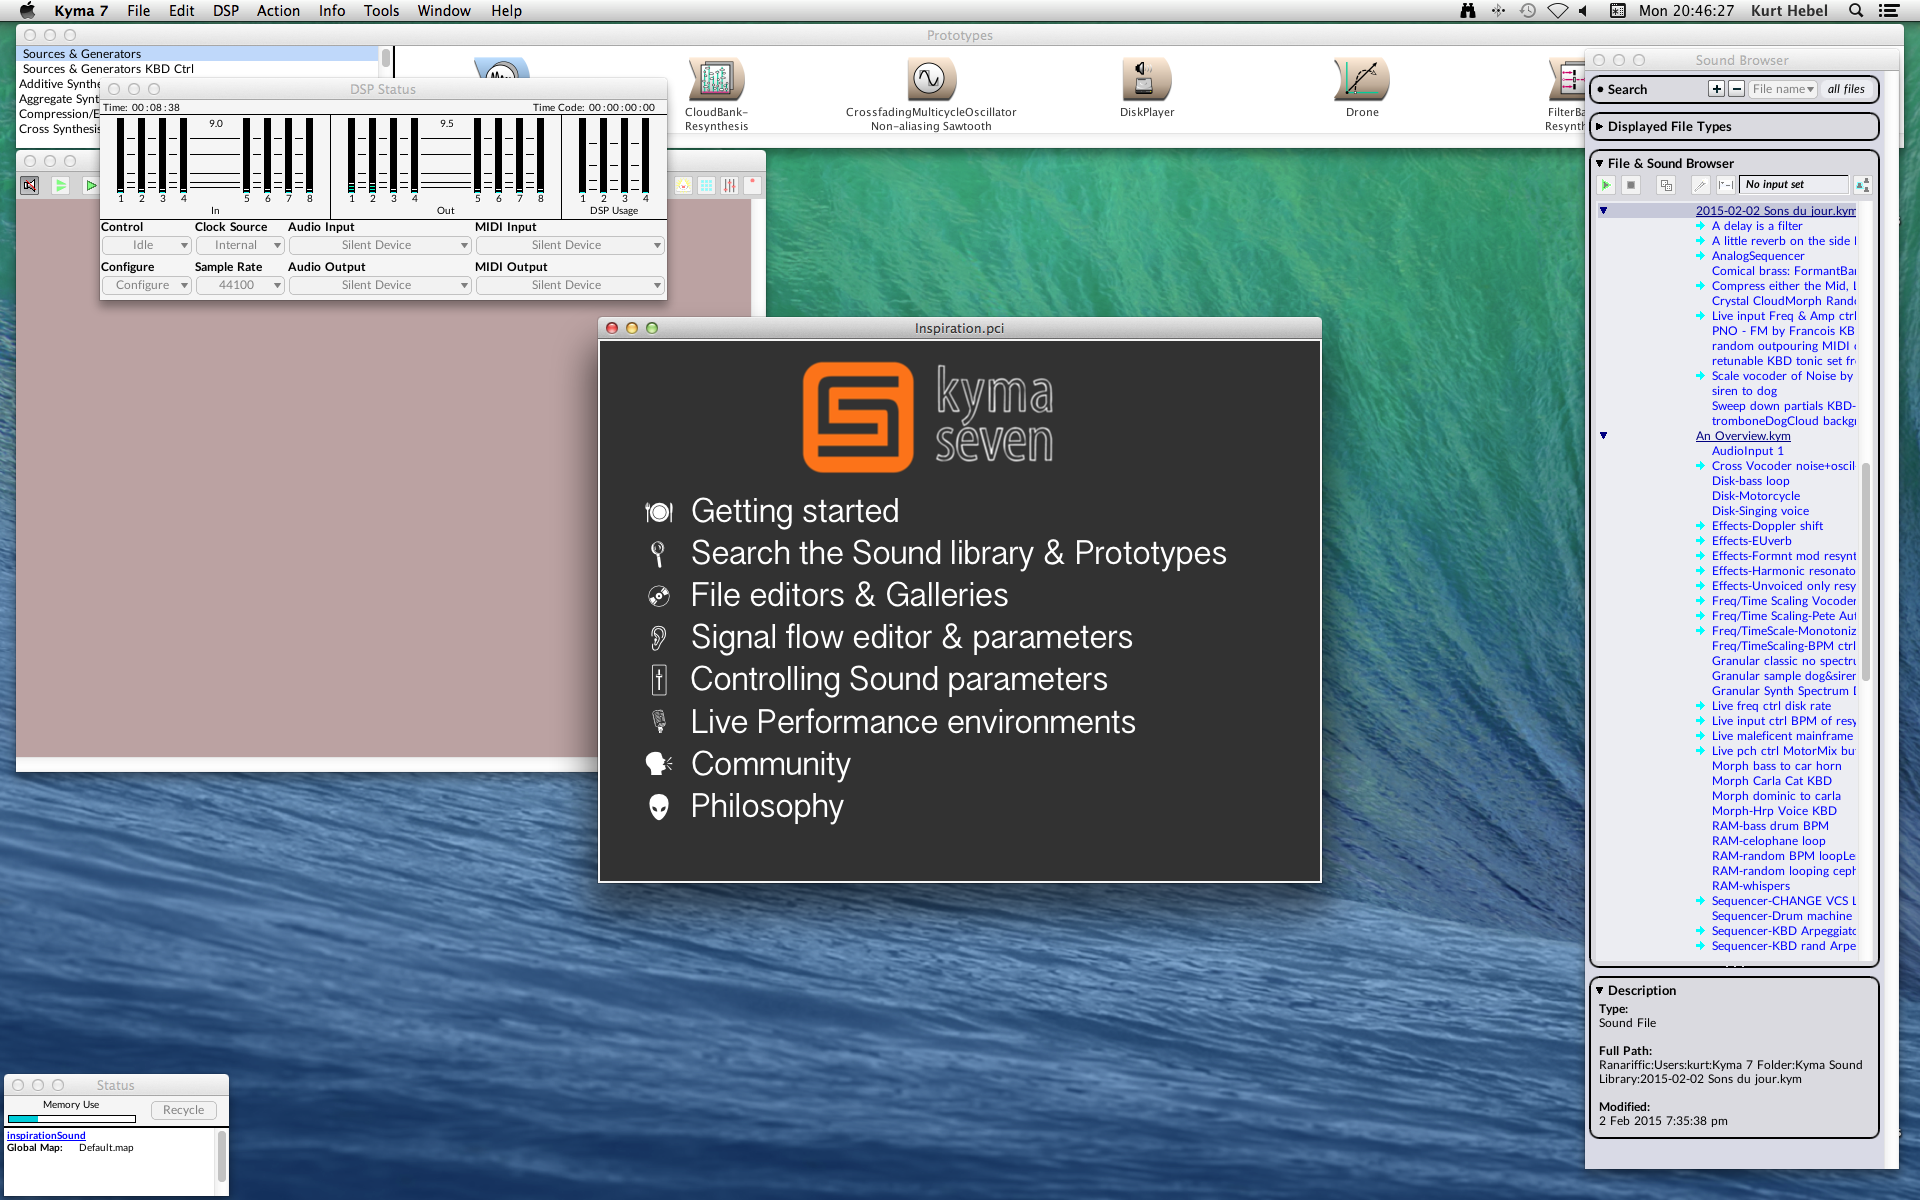
Now that you’ve installed the Kyma application, connected the Paca(rana) to your computer, and connected your audio and MIDI interfaces to the Paca(rana), you are ready to start Kyma. To start Kyma, double-click the Kyma application (on the Mac) or select Kyma from the Start menu (on Windows).
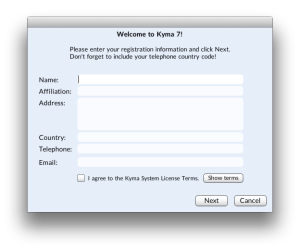
The first time you start Kyma, you can register your copy of the software. The name and information you enter here will be the official ownership registration for your copy of Kyma. We respect your privacy and will never share this information with others. (If you are registering for a university or other organization, please see Registering for an Organization.)
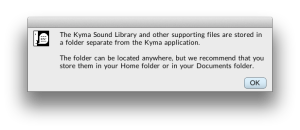
Next, Kyma will create a Kyma 7 Folder containing the Sound Library and other support files. Kyma will ask you where you’d like to save the Kyma 7 Folder on your computer; we suggest you keep it in the documents folder. Click Next.
Next, Kyma will download some files and ask you to turn on your Paca(rana).
.JPG)
In order to be able to ask questions and access the Kyma Community Sound Library, enter a login name and supply a password. This login name will also be used as a “screen name” for any questions or answers you post and on any Kyma files you share on the website.
After clicking Next, Kyma will download the remaining Sound library and support files. Stand up, stretch, and get a cup of espresso while you wait the ten minutes or so that it takes for Kyma to finish this step…
From time to time, changes are made to the Paca(rana) firmware in order to support new features in Kyma; it is possible that a change was made since your Paca(rana) was assembled and tested.
 If so, Kyma will ask you whether you would like to install the new firmware. We recommend that you keep your Paca(rana) up to date and install the new firmware. Please carefully read and follow the instructions that Kyma gives you — if something goes wrong it is possible that you would have to send the Paca(rana) back to us to restore the firmware!
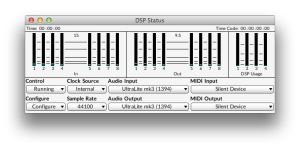 The final step is to tell Kyma which audio interface it should use for audio input and output. Choose your audio interface from the Audio Output drop-down menu in the DSP Status window. You can read more about clock sources, routing, and other configuration details in Selecting and Controlling Interfaces.
Kyma is now ready to play! On the screen, you should see the System Prototypes, the Sound Browser, the DSP Status window and a quick start guide. It’s time to start making sound!

