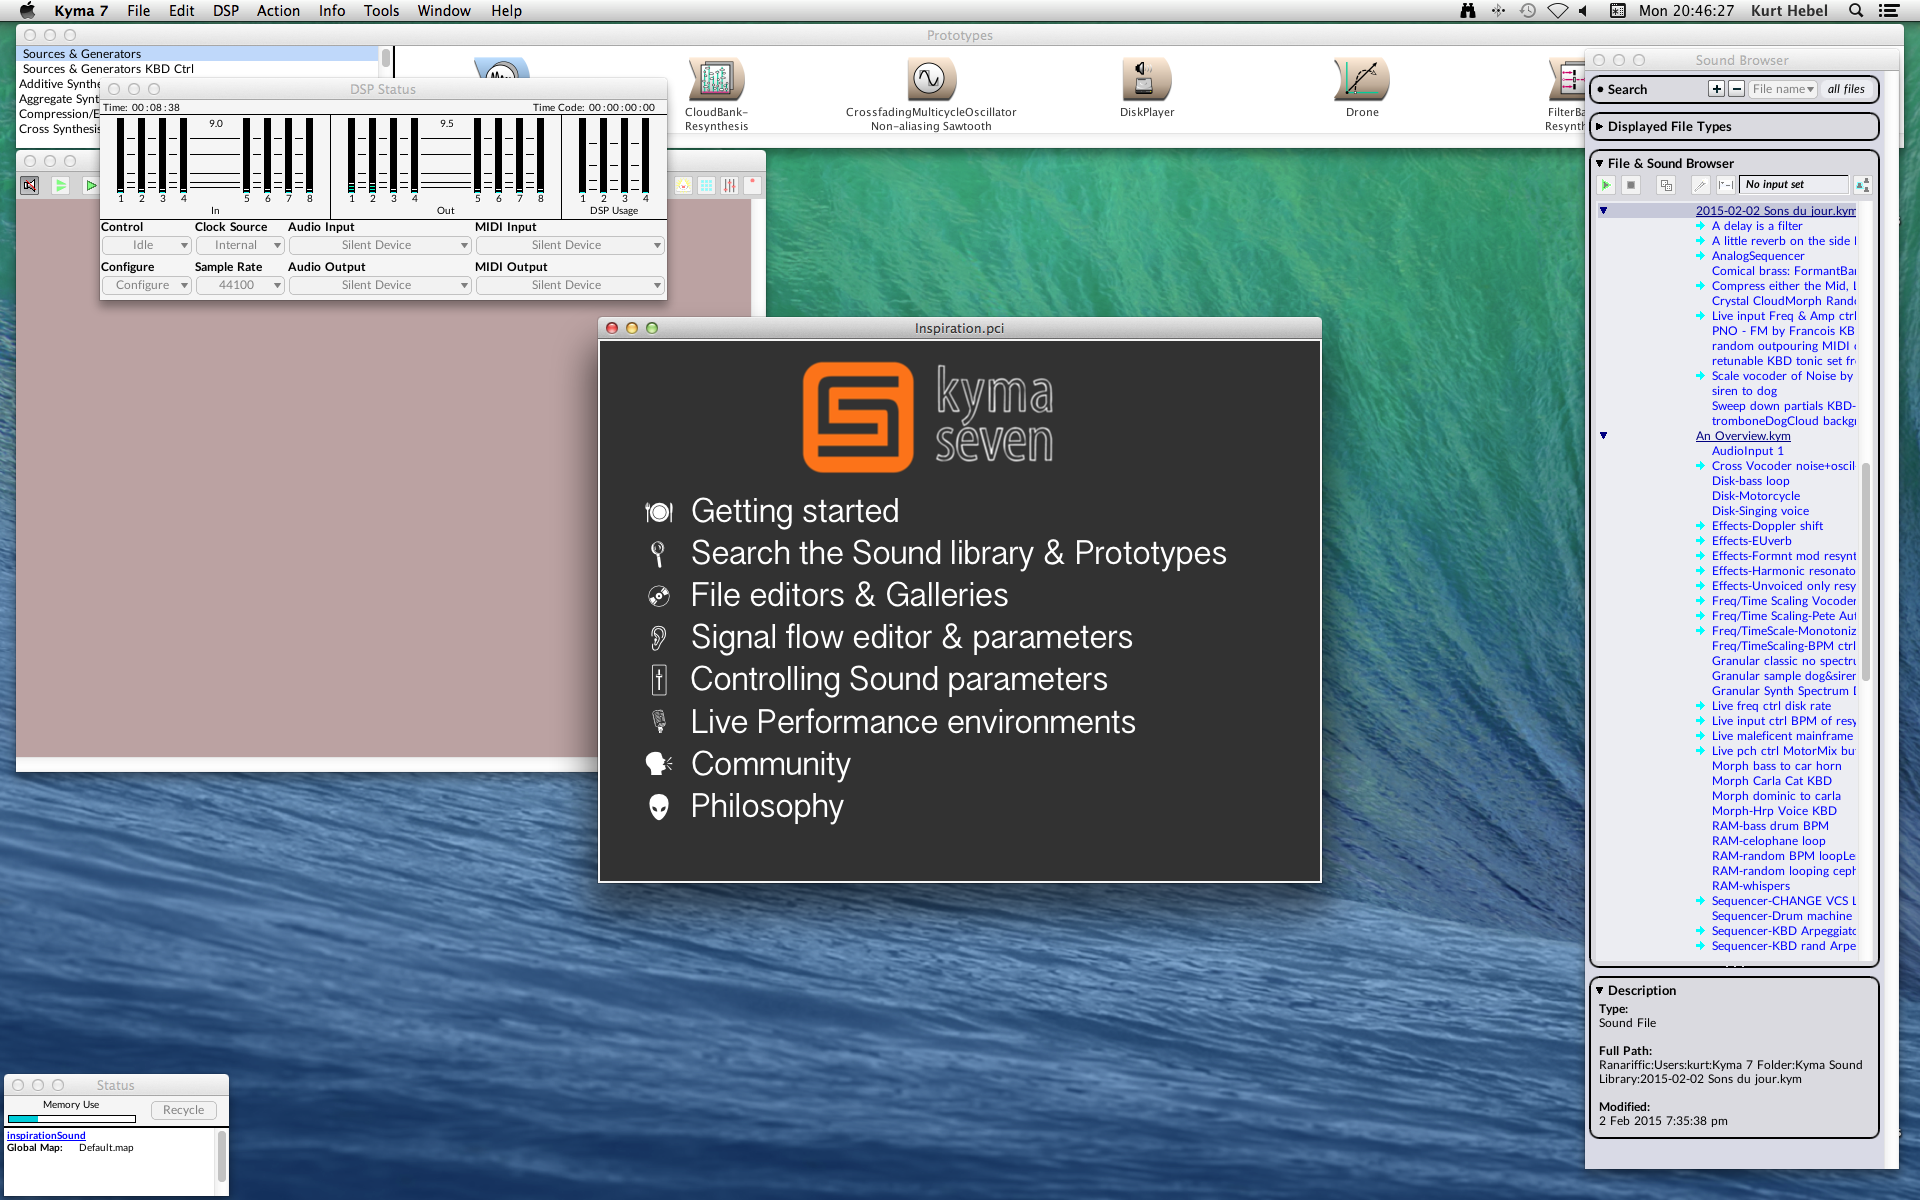
Eager to hear some sound? Here is a quick start up quide (you may decide to configure things differently in the long run).
- After installing Kyma on your host computer (Windows, macOS), make the following connections to the back panel of the Pacamara:
- Connect the power supply (included in the box) to the USB-C power input port
- Connect the host computer to the Ethernet port using the provided Ethernet cable
- Connect stereo headphones or speakers to the 3.5 mm audio jack
- Power up the Pacamara
- Tap once on the button on the front of the Pacamara
- Wait until the light stops blinking and is displaying a solid, royal blue color
- Launch Kyma on the host computer and register the software
- Listen to Kyma through the built-in audio output
- In the Kyma DSP Status window, select Built-in 3.5 mm as the Audio Output
- Select Audible Metronome from the Prototypes window at the top of the screen
- To play a selected Sound (in this case, Audible Metronome), tap the space bar on your computer keyboard
- You should hear a steady metronome click from the headphones or speakers (you can adjust the BPM rate in the Virtual Control Surface window)
- To adjust the output volume, select Pacamara from the Configure dropdown menu at the lower left of the DSP Status window
- To turn off the Pacamara, touch and hold the button on the front of the Pacamara while it changes color from pink to yellow to red and finally pale blue, when it will turn off.
At this point, you’re ready to do any (and all) of the following:
- Read more about the connections on your Pacamara
- See examples of how to integrate the Pacamara with other software and hardware in your studio
- Dive into the Kyma sound design language


